
Google Tag Manager (GTM) is a tag management system that makes adding tracking scripts to your website easy. With GTM you no longer need to trouble a developer, or fumble around with page templates to implement tracking code.
There’s a lot you can do with GTM, but for the purpose of this guide, I’m going to show you how to implement Google Analytics (GA) using Google Tag Manager.
Why implement GA using GTM?
The best way to think of GTM is as a container for all your tags. You can implement your Google Ads tags, tracking pixels, heatmapping scripts and so much more with GTM.
Not only does it provide a central location for all your scripts, but you can also set up events from within the platform.
If you want to track a contact form on your site, no problem. GTM provides a form submission trigger.
If you want to track PDF downloads, no problem. GTM provides a link click trigger.
There are so many tracking possibilities. Without GTM, you’d have to add JavaScript events to your code to send data into GA. We’ve all been there, and it’s a less than ideal situation. That’s why implementing GA using GTM is a much better solution.
Google Tag Manager components
There are a few key components to understand before starting with Google Tag Manager. These are Tags, Triggers and Variables, which lie at the core of Google Tag Manager.
- Tags – Code snippets used for analytics, marketing and support purposes.
- Triggers – These cause tags to ‘fire’ when a specific event happens e.g. a contact form submission.
- Variables – Dynamically populated data fields e.g. your Google Analytics ID
In this guide you’ll learn how to add a Google Analytics tag that uses that gets triggered on all pages.
Step 1) Create a Google Tag Manager account
To get Google Tag Manager you will need to create an account which you can do here: https://tagmanager.google.com/.
- In Google Tag Manager, click ‘Accounts‘ and then click ‘Create account‘.
- Enter an account name and optionally indicate whether you’d like to share data anonymously with Google and others.
- Click Continue.
- Enter a descriptive container name and select the type of content: Web.
- Click Create.
- Review the Terms of Service and click Yes if you agree to those terms.
You will now be prompted to install the web container code snippet.
Step 2) Install the Google Tag Manager container
The next step is to install your Google Tag Manager container. To do this you will need to edit the <head> of your website templates.

- Place the <script> code snippet in the <head> of your web page’s HTML output, preferably as close to the opening <head> tag as possible.
- Place the <noscript> code snippet immediately after the <body> tag in your HTML output.
Step 3) Add and publish Google Analytics tag
Now that the container is installed, you’re ready to add your Google Analytics tracking tag. These instructions vary depending on whether you’re using Universal Analytics or Google Analytics 4. All new Google Analytics properties default to Google Analytics 4 (GA4), meaning Universal Analytics (UA) is being deprecated. The instructions below show you how to implement GA using both Universal Analytics and Google Analytics 4.
- Implement Google Analytics Universal Analytics (UA) Tracking In GTM
- Implement Google Analytics 4 (GA4) Tracking In GTM
NEW Google Analytics 4 (GA4) Implementation
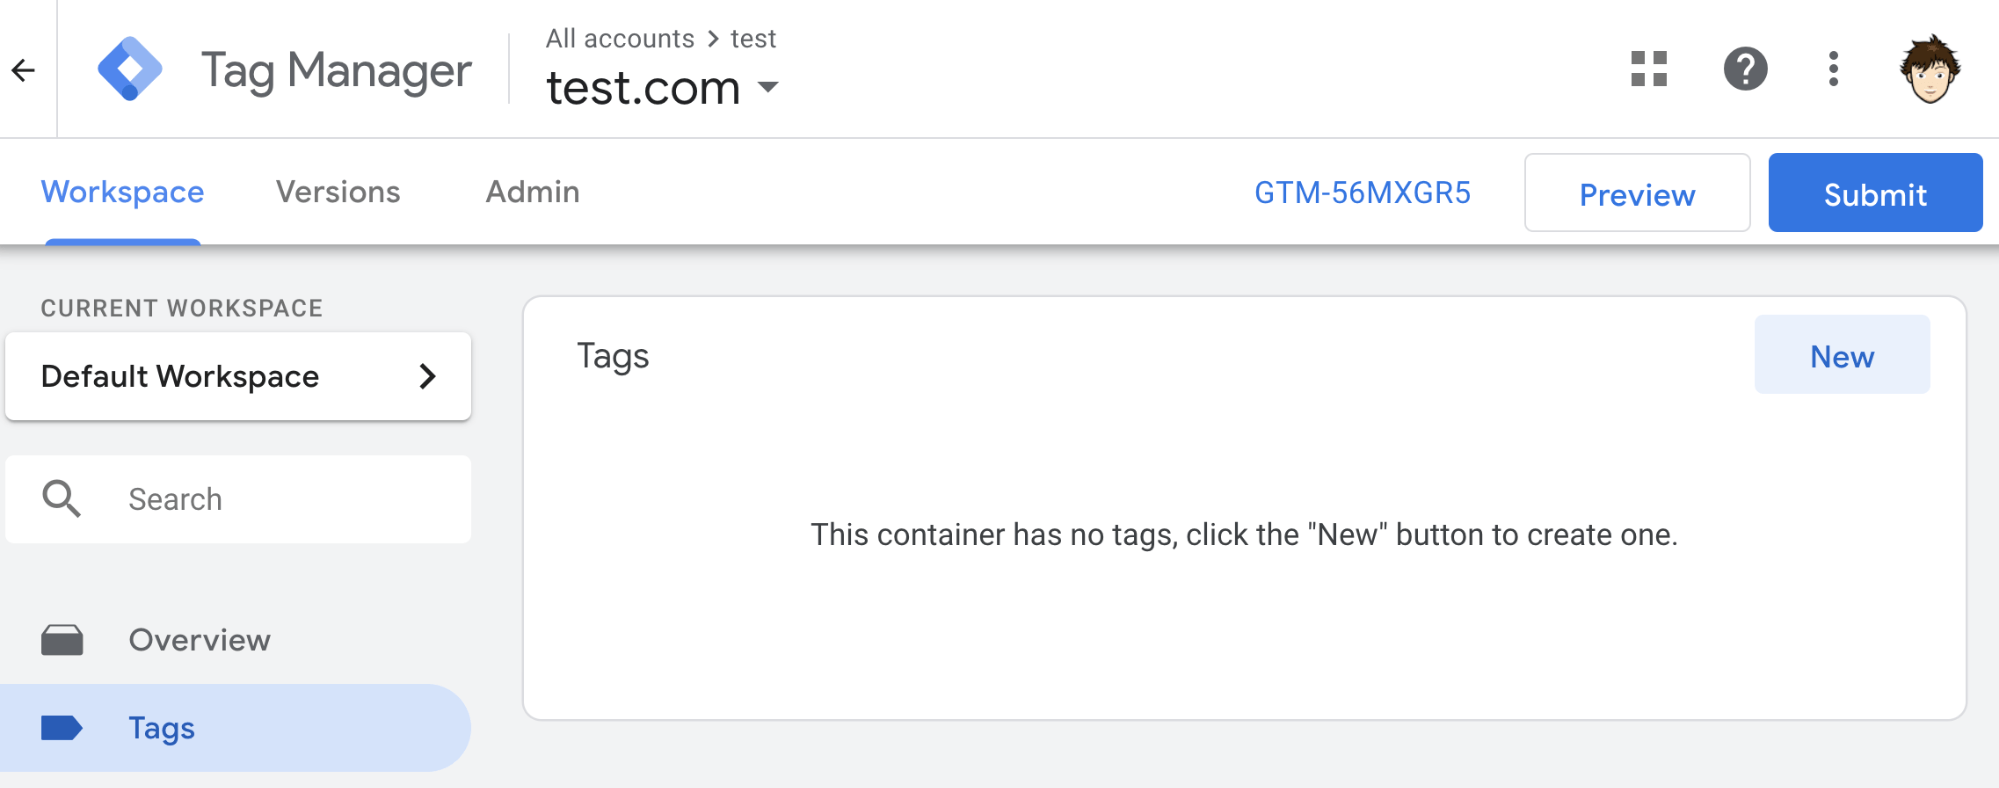
1) Click Tags from the navigation menu and then click New.
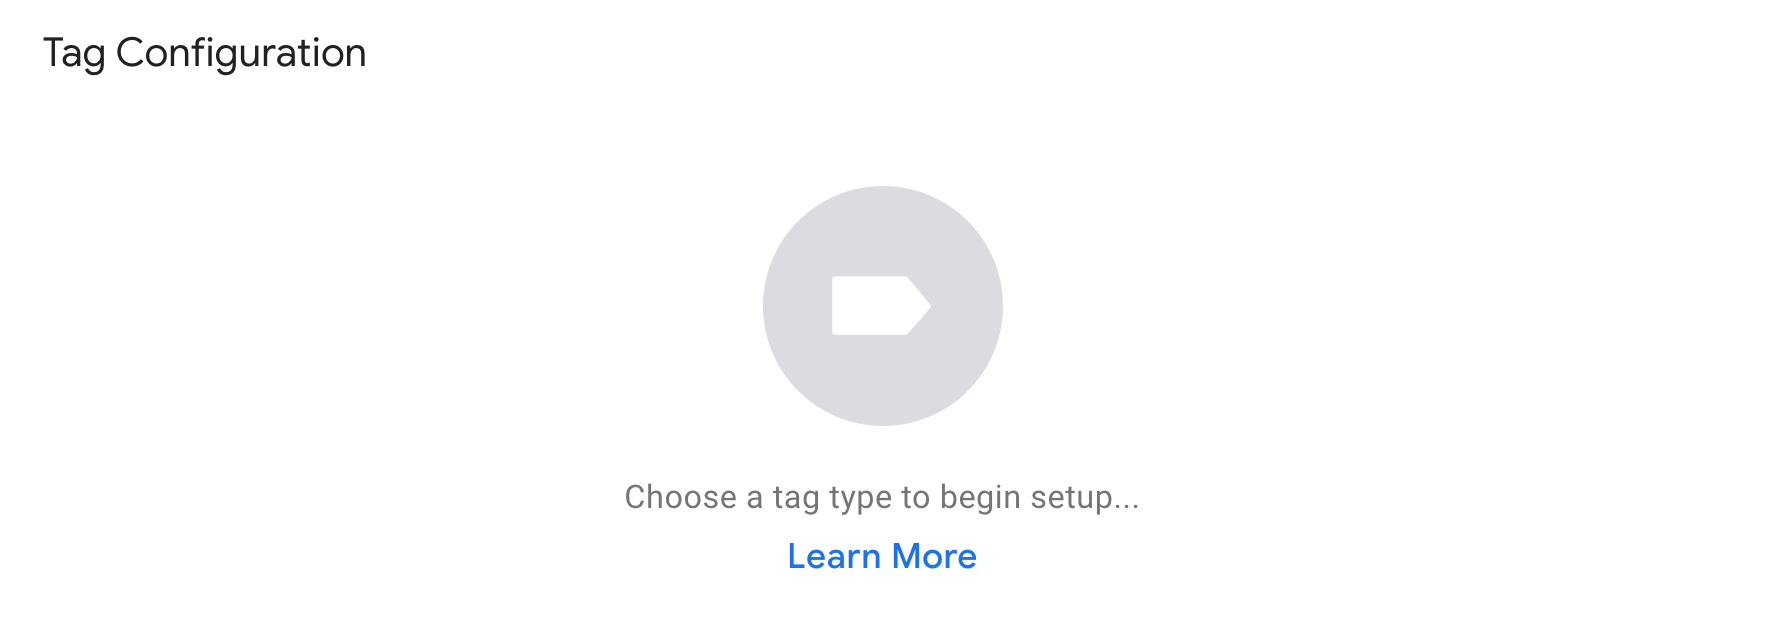
2) Click anywhere in the Tag Configuration section to start adding your GA4 tracking tag
3) Select the Google Analytics: GA4 Configuration tag type and under Measurement ID click the button that looks like a lego brick with a ‘+’ sign in it

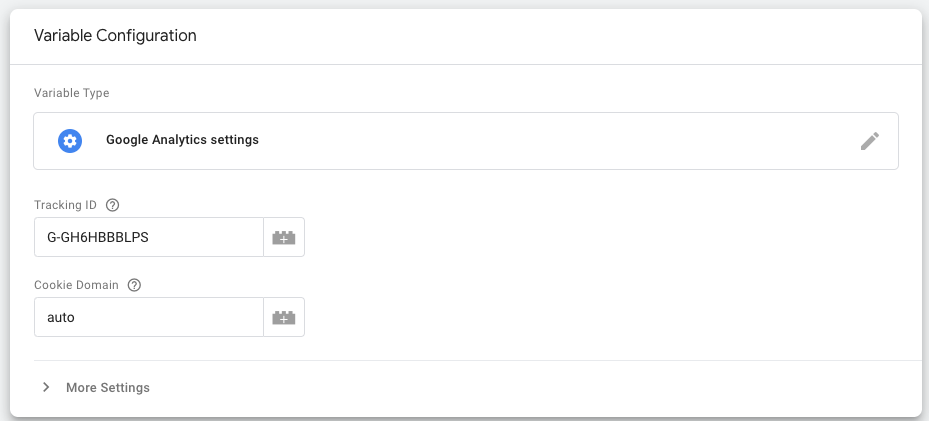
4) Choose the Google Analytics Settings variable type and add your Google Analytics tracking code into the Tracking ID field. Then click Save.
5) You should now be back at the Tag Configuration window. At the bottom of this window you will find the Tag Triggering section. Click anywhere in this section to set up a trigger

6) Select the All Pages trigger and click Save

7) Preview mode gives you an opportunity to inspect your Tag Manager configuration on your site to make sure everything behaves as expected. You can use the debug option to see which tags fire as you browse and interact with the site.
8) When you’re ready to publish your changes, click ‘Submit’. From here you’ll be able to add container details and publish your changes.

OLD Universal Analytics (UA) Implementation
1) Click Tags from the navigation menu and then click New.
2) Click anywhere in the Tag Configuration section to start adding a new tag
3) Select the Google Analytics: Universal Analytics tag type and under Google Analytics Settings click New Variable…
4) Add your Universal Analytics tracking code into the Tracking ID field and click Save

5) You should now be back at the Tag Configuration window. At the bottom of this window you will find the Tag Triggering section. Click anywhere in this section to set up a trigger
6) Select the All Pages trigger and click Save
7) Preview mode gives you an opportunity to inspect your Tag Manager configuration on your site to make sure everything behaves as expected. You can use the debug option to see which tags fire as you browse and interact with the site.
8) When you’re ready to publish your changes, click Submit. From here you’ll be able to add container details and publish your changes.
Additional tracking
Google Analytics will now start firing on every page, collecting information about the traffic on your website. It’s also worth setting up additional tracking on conversion points, such as your contact form. This can help you to monitor how your website users are reaching their goals, which is vital for Conversion Rate Optimisation (CRO).